Before I started this renovation there had been carpets my husband and a few friends removed from the apartment with the exception of the dining room, living room and staircase. Underneath the fabulous shag carpets in greens and oranges was old carpet padding that had been (GASP) glued to the floors. Why they glued them I have no idea but it is a very awful thing for them to do to these beautiful floors.
As you can seen in these pictures the level of nasty green carpet glue, this is after I have scrapped all of the thick parts off and swept the floors. After asking a few friend for some ideas on how to remove this nastiness, someone suggested a adhesive solvent stripper, I looked around for some and I finally found exactly what I was looking for at Lowes of all place (Who would have thought the hardware store would have?? 😉 ) I bought Crown Solu-Strip Adhesive Stripper for about $27.00 a gallon. Now their suggestion to put a thin coat was not working, so I would put thick layers on a small 5′ by 5′ area and cover with cheap trash bags and let it sit for 20-35 minutes depending on the level of thickness of the glue. I would do other things during those wait times like remove wallpaper, wash walls, paint walls etc.


I applied the solvent with a paintbrush and wore work gloves and eye protection just to be safe since I am accident prone occasionally.
 This was what it first looked like when I started, I used cheap trash bags to cover them and a putty knife along with a razor blade scrapper to remove the carpet glue. Sometimes it came up like butter being put on a hot biscuit other times I needed the razor blade to take off a few hard spot.

The difference between the carpet glue and the hardwood floors is amazing.

This shot was taken from the bathroom shooting down the hallway, I have yet to measure the amount of square footage of carpet glue I have actually removed I will get to that one of these days.


Different views of the hallway near the living room and the hallway into the dining room.


This is the floor of my studio the only bedroom where the carpet was not glued down, I recently discovered the living room isn’t glued down either. I was very excited to find that out and will reveal that flooring once I have painted in there. Please don’t mine the mess in the corner my husband was putting plaster up that day.

The stairs leading upstairs to the apartment, they used bunches of carpet staples to hold the carpet down. Once I removed all of the staples I washed the backs of the stairs and used a natural colored wood filler to fill in the holes. I plan on painting the back of the stairs white again and I am leaving the tops as they are.

The view from the living room down the hallway.

The view back towards the living room from the bathroom.

The green bedroom aka the bedroom closest to the living room.

Second bedroom, don’t mind my clothing racks that are just waiting for my studio to be done.
I still have much to do with the floors like sand them and restain them with a traditional cherry stain, I want to keep the integrity of the building.
I currently have close to 30 hours of work on these floors alone and 10 or 12 gallons of adhesive solvent used.
Until next time….
Kristen

 The chestnut trees are starting to drop chestnuts.


 Acorns
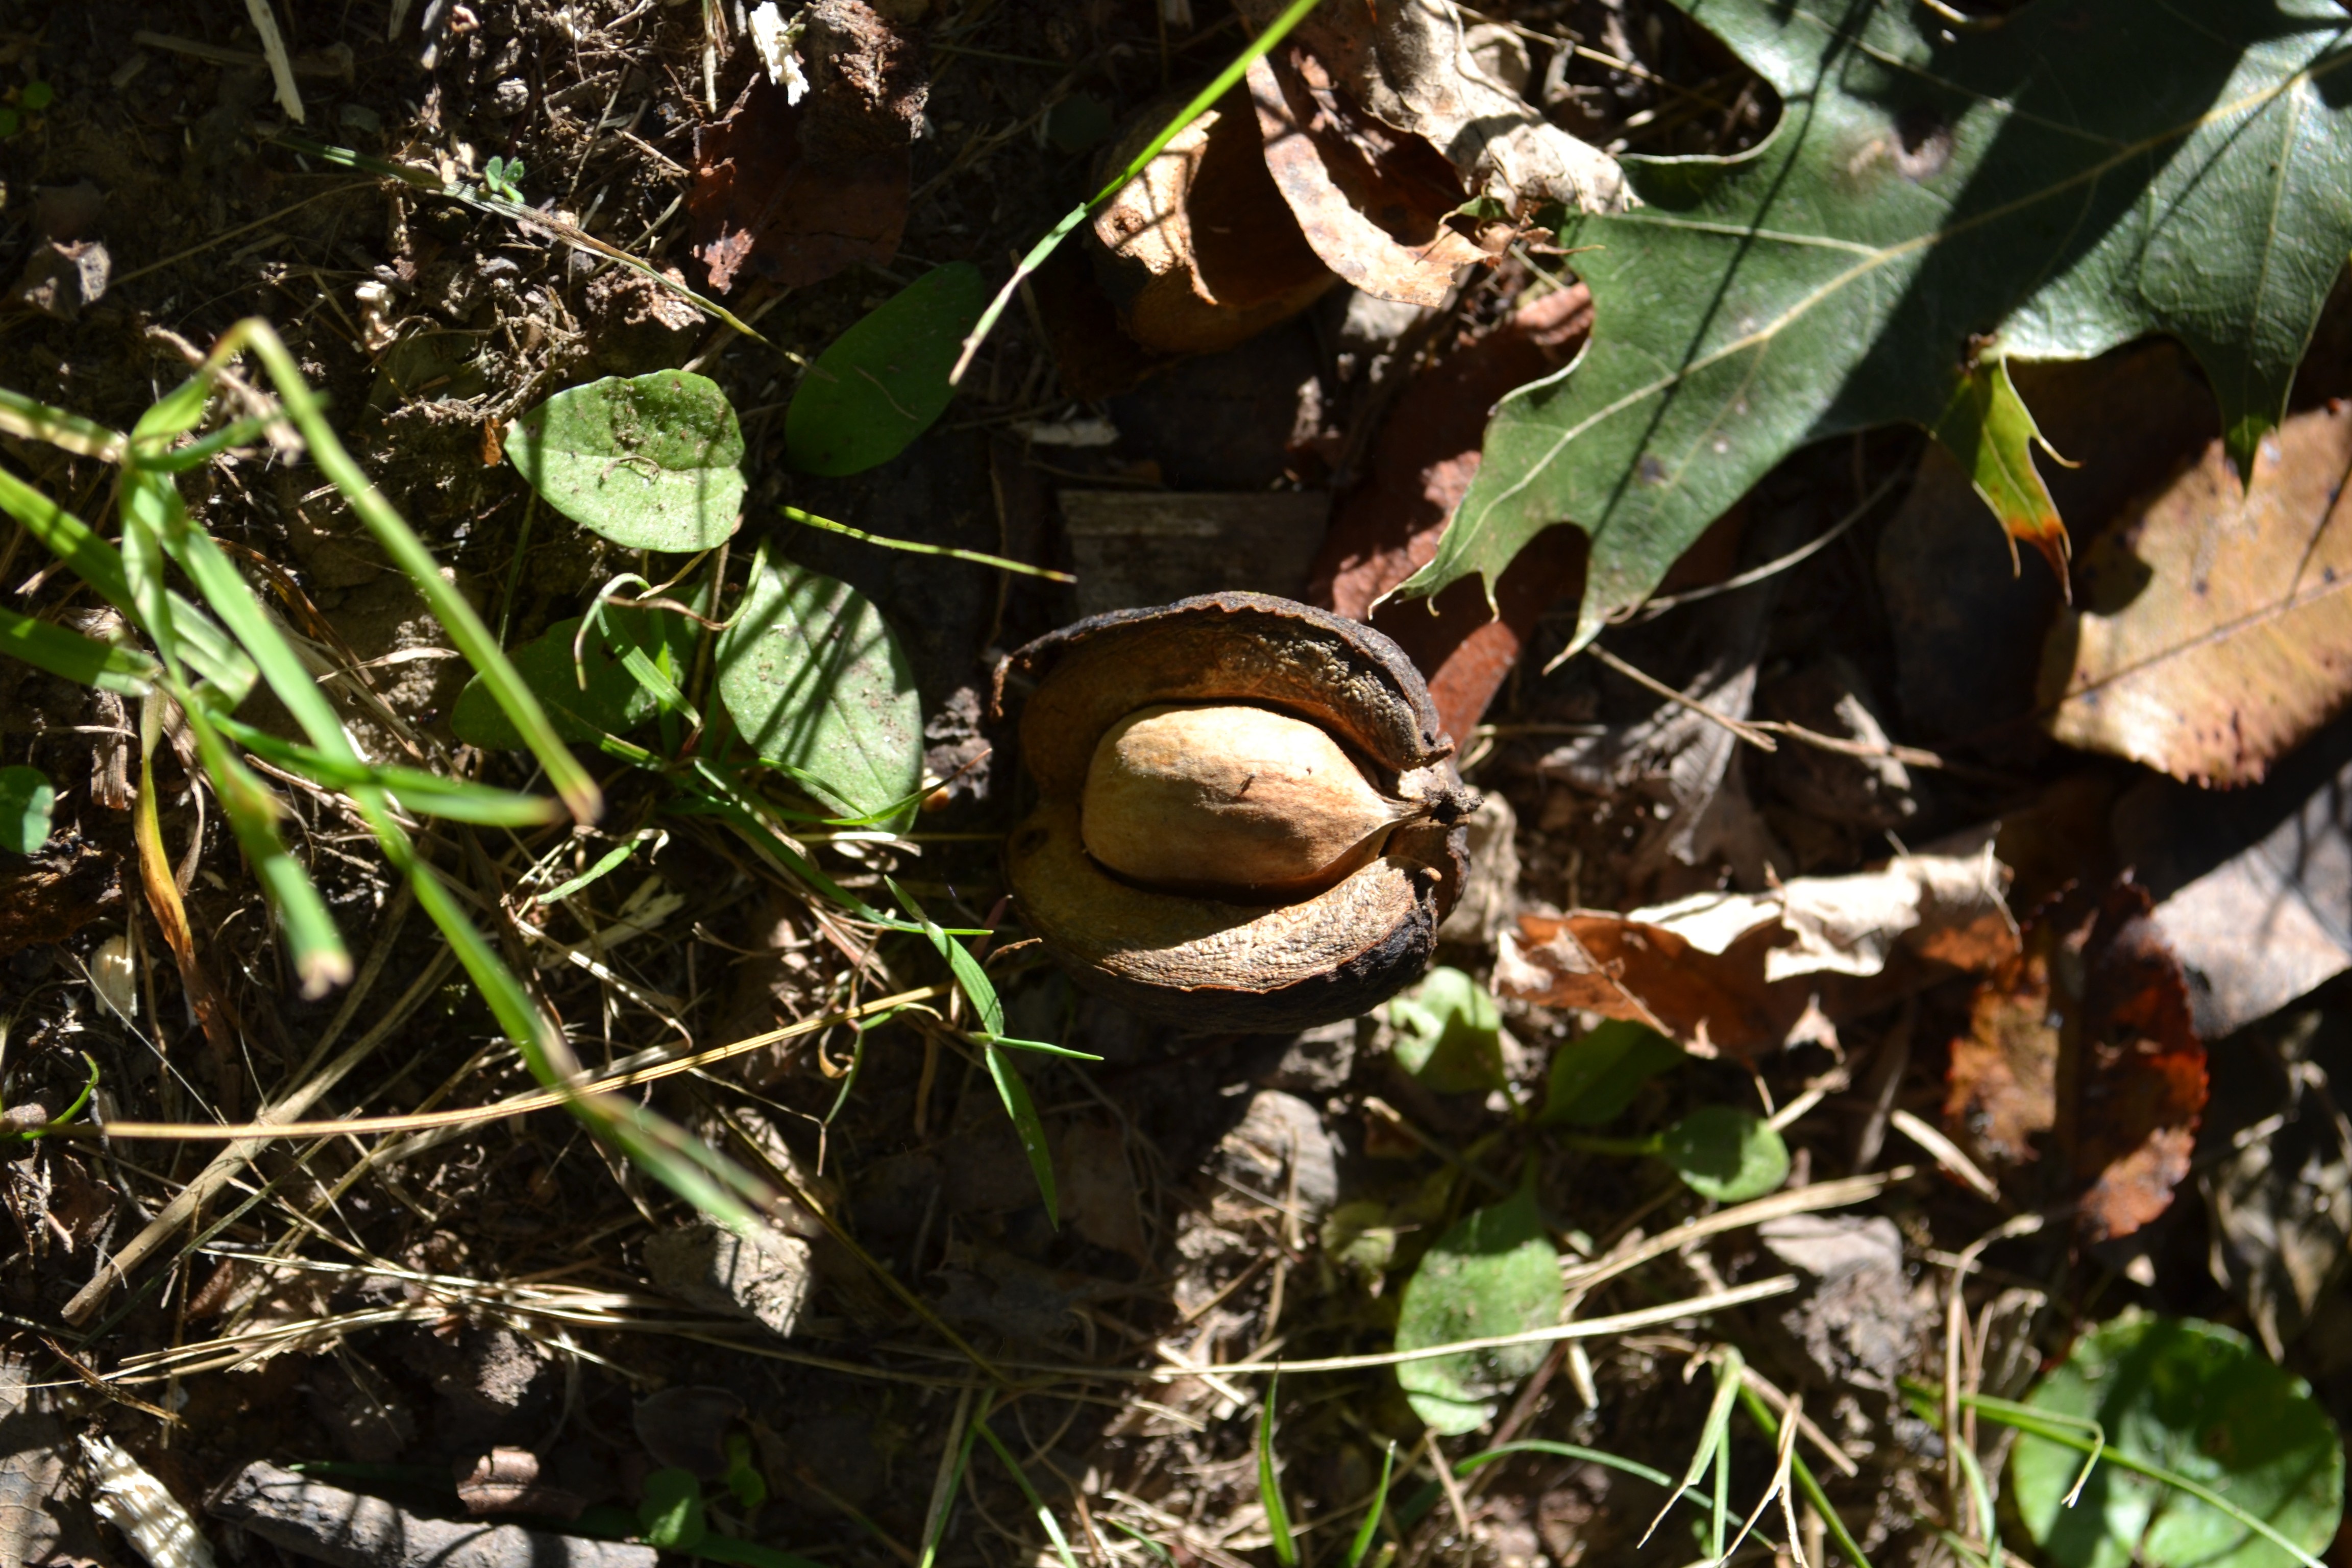
 Hickory Nuts
 Mr. Sun was trying to peek through the trees
 The neighbors cows
 Skyward view


 Honey loves going for walks.
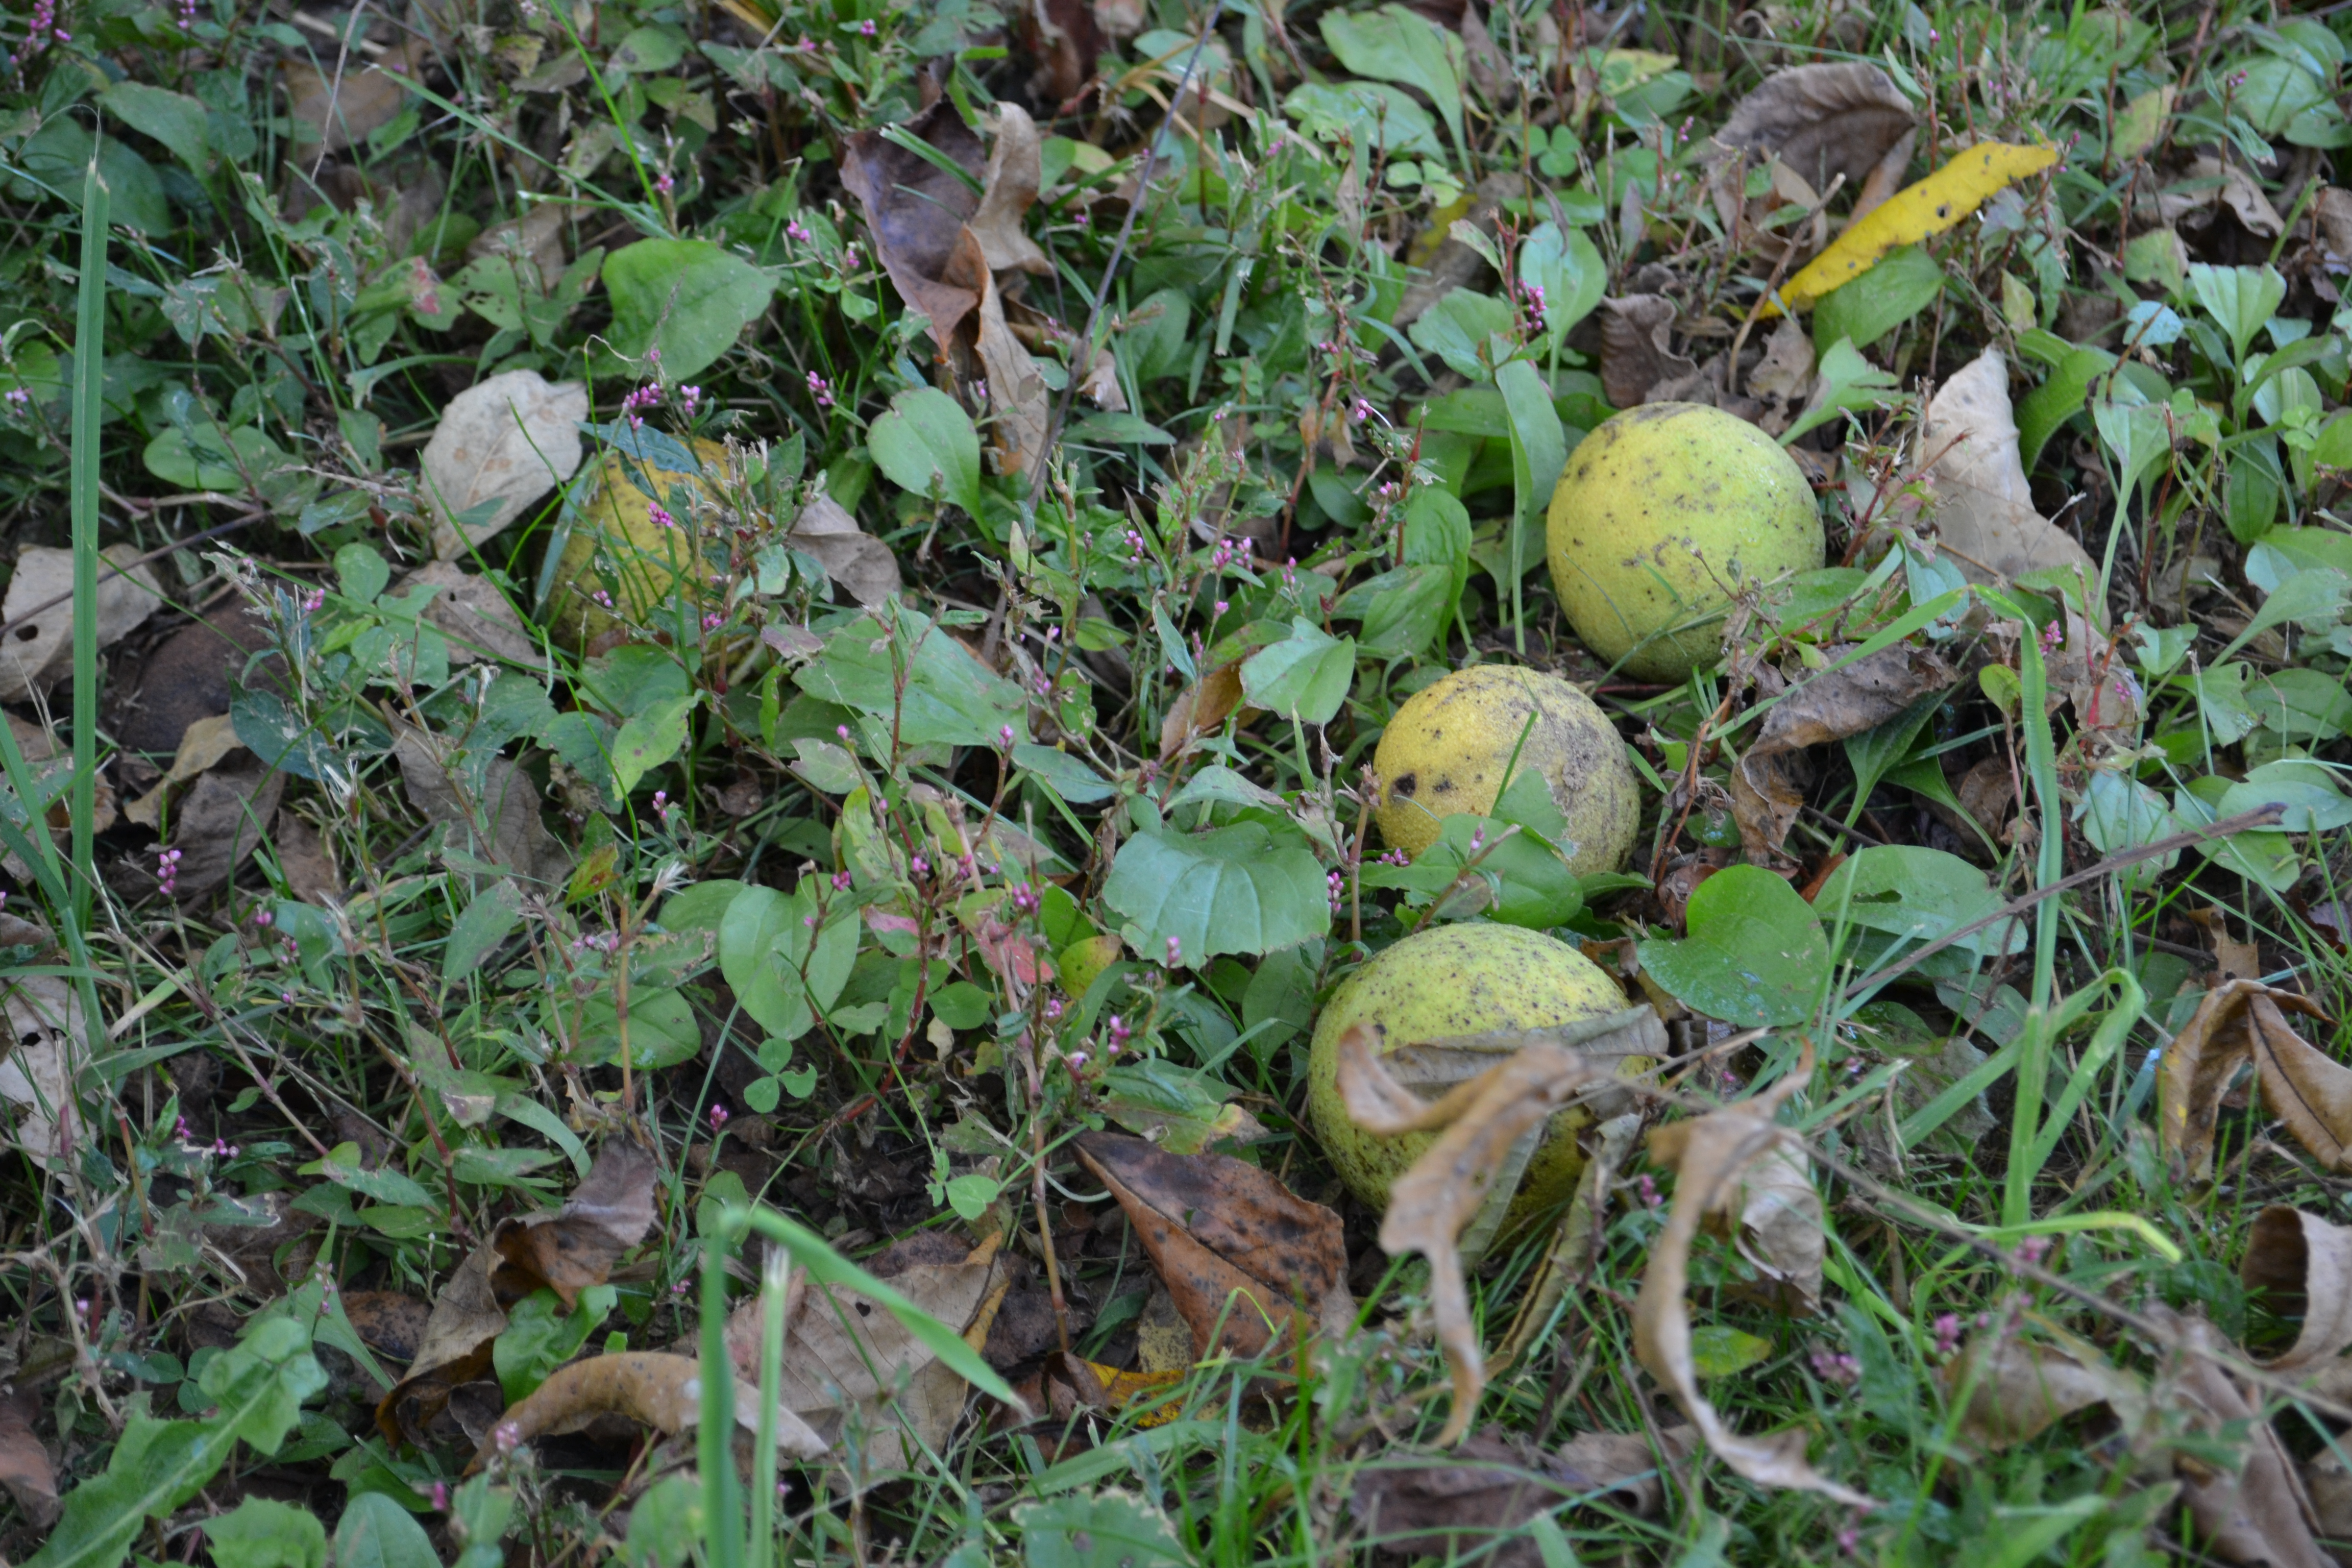 We have walnuts all over the place.


